
I’ve been practicing photo manipulations lately. Not so much as to create surreal art, (at least at the moment haha!) but more for being able to add a little something extra to some of my photographs.
In this manipulation, I worked on simple, but (hopefully) realistic compositions and lighting. I use Affinity Photo for my photography, but the concepts should translate to other photo editing software.
Here are the stock images I used. Wolf: https://pixabay.com/en/wolf-run-area-brown-1288683/
Forest: https://pixabay.com/en/forest-woods-trees-nature-dark-925945/
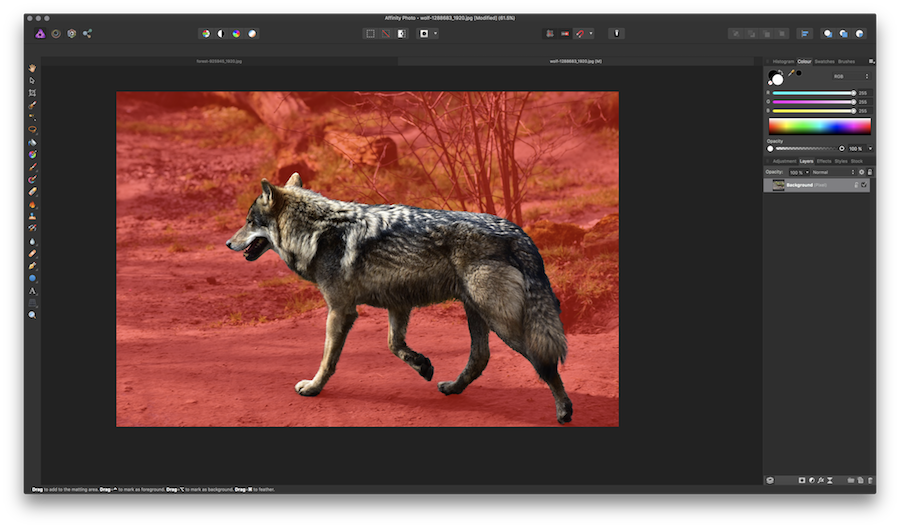
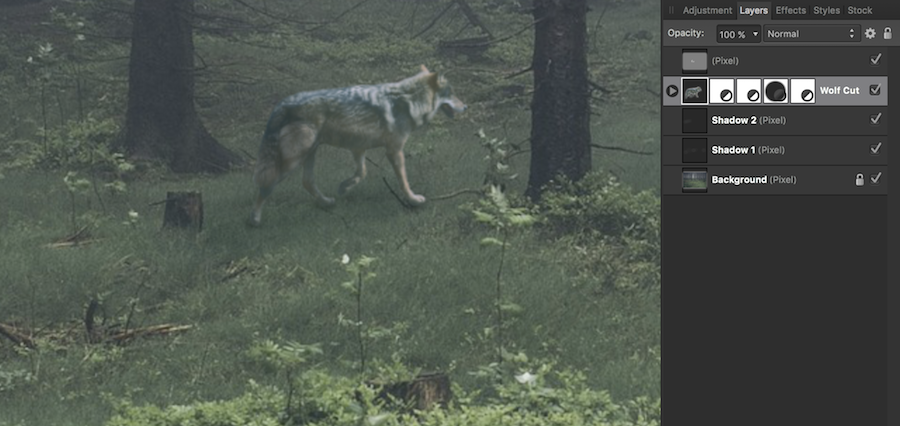
I first selected out the wolf with the “quick section tool” and used the “refine” to get it more precise.
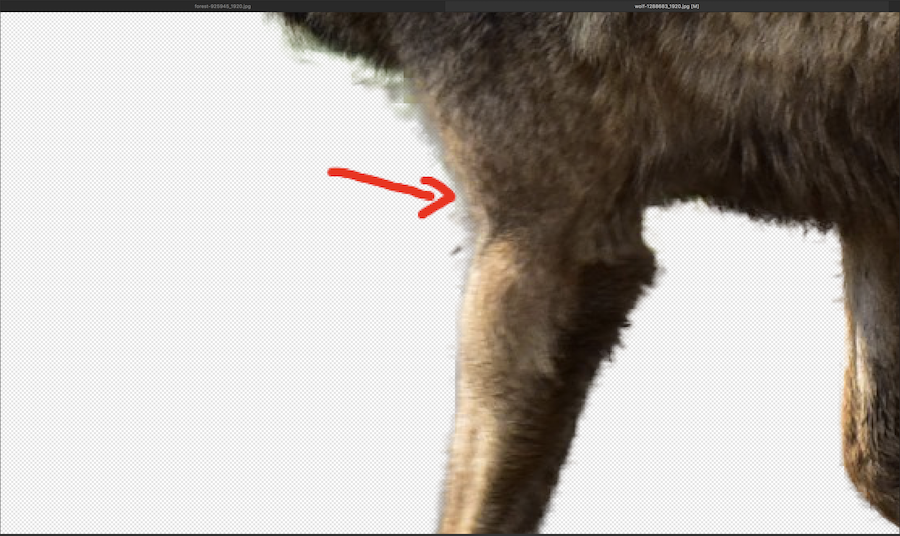
After that, I inverted the selection and deleted the background. Now, often times there’s a little halo around the cutout, making it look kind of funny. So, I went and erased it.
I exported it as a PNG file (to preserve the transparent pixels), and now I have a wolf to put in a forest!

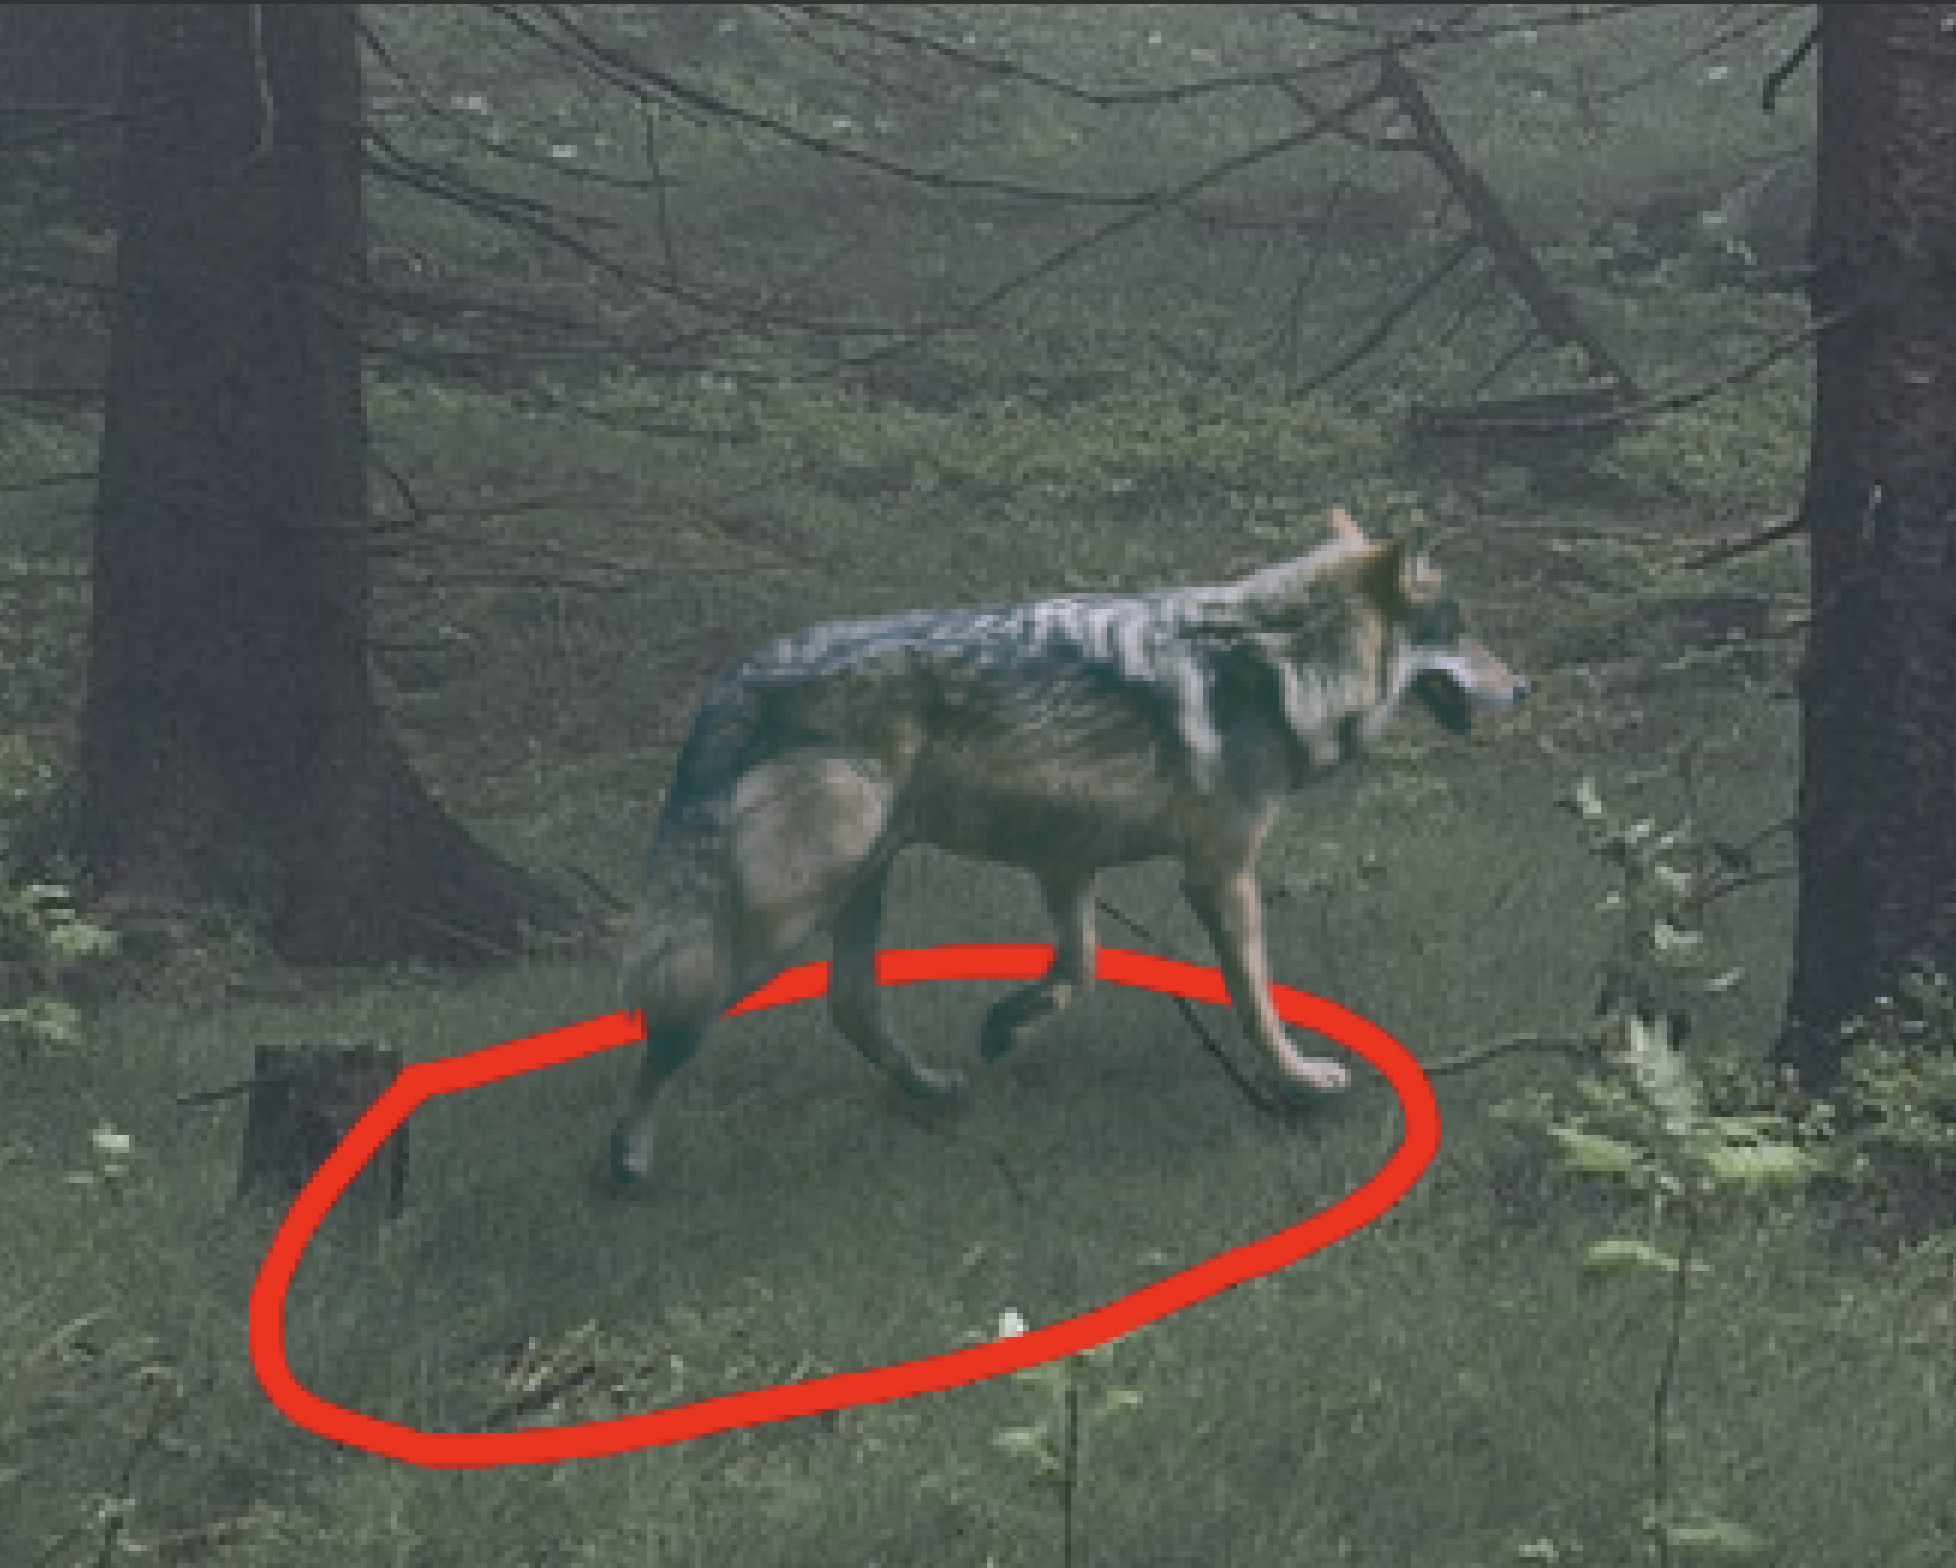
I then opened up the forest picture, and placed the wolf in it (the size and location is crucial to getting the the picture to look right). I flipped the wolf horizontally because the direction of the shadows on the wolf didn’t go in the same direction as the shadows in the background.
Now it’s time to make the wolf blend in! I put all of the adjustment layers inside the wolf layer so they only affect the wolf.
I desaturated the color, increased the luminosity, decreased the brightness and contrast, and brightened the shadows and darkened the highlights to match the hazy background. Then I used the “color balance” adjustment for matching the colors.
Two layers of shadows were then added under the wolf. The first layer is right underneath his paws. The second is a more general shadow underneath him. (Being sure to mind the direction of the shadows!) 🙂
I dodged and burned the wolf to add more shadows. To do it non-destructively, add a new fill layer filled with 50% gray above what you want to dodge and burn, then set the blending mode to “overlay”. Now, dodge and burn away!
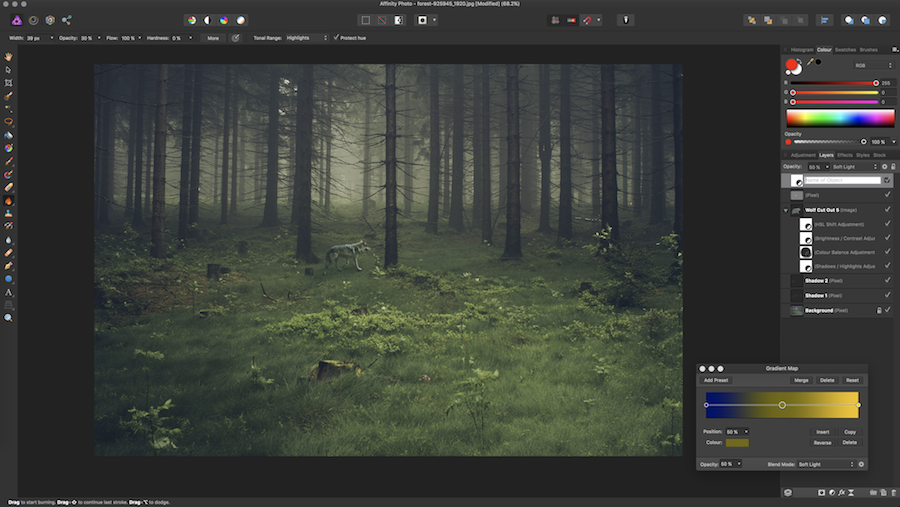
Lastly, I added a gradient map layer to add more drama.
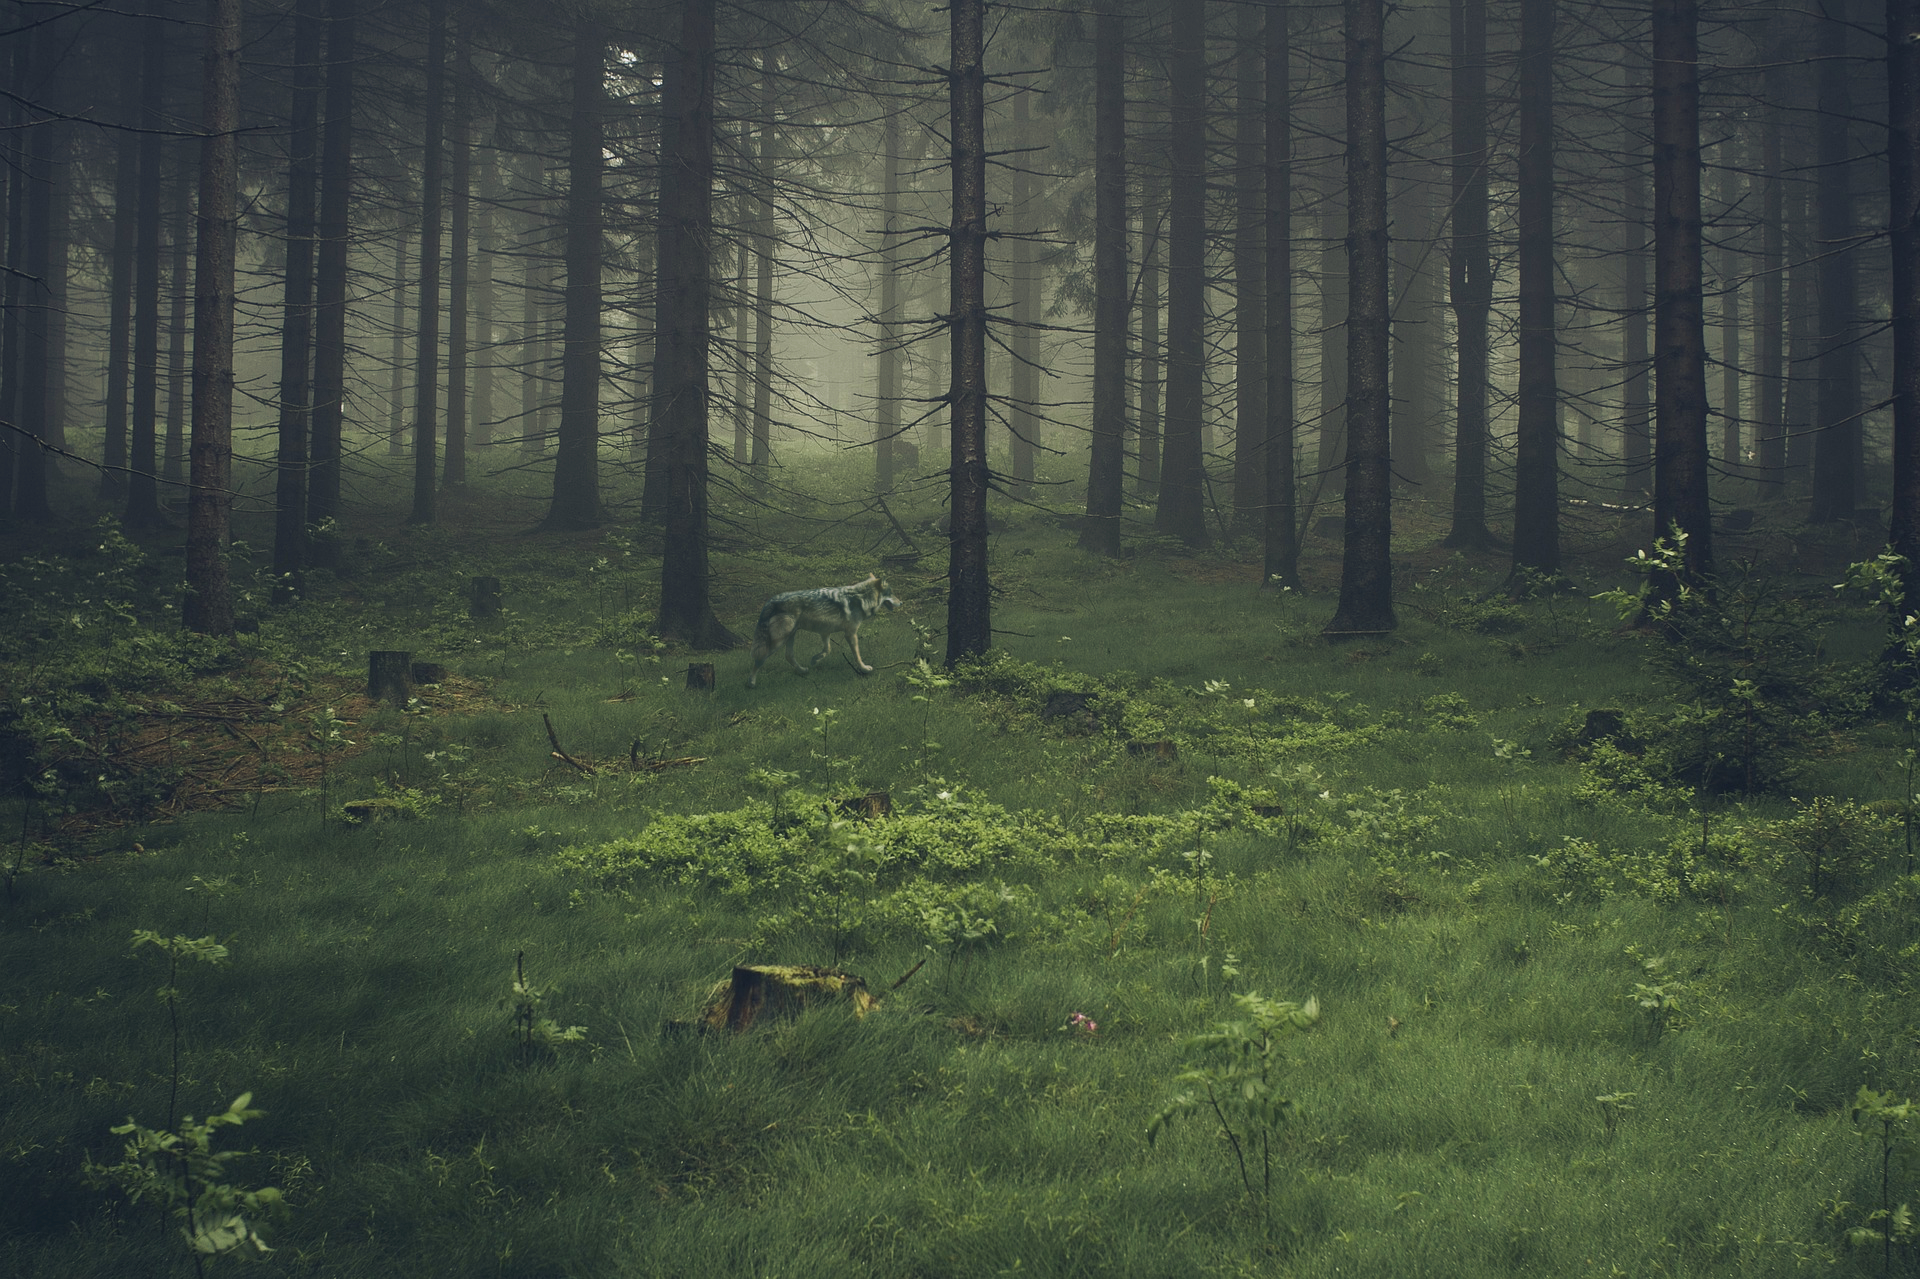
Here’s the finished product!
Happy editing!
