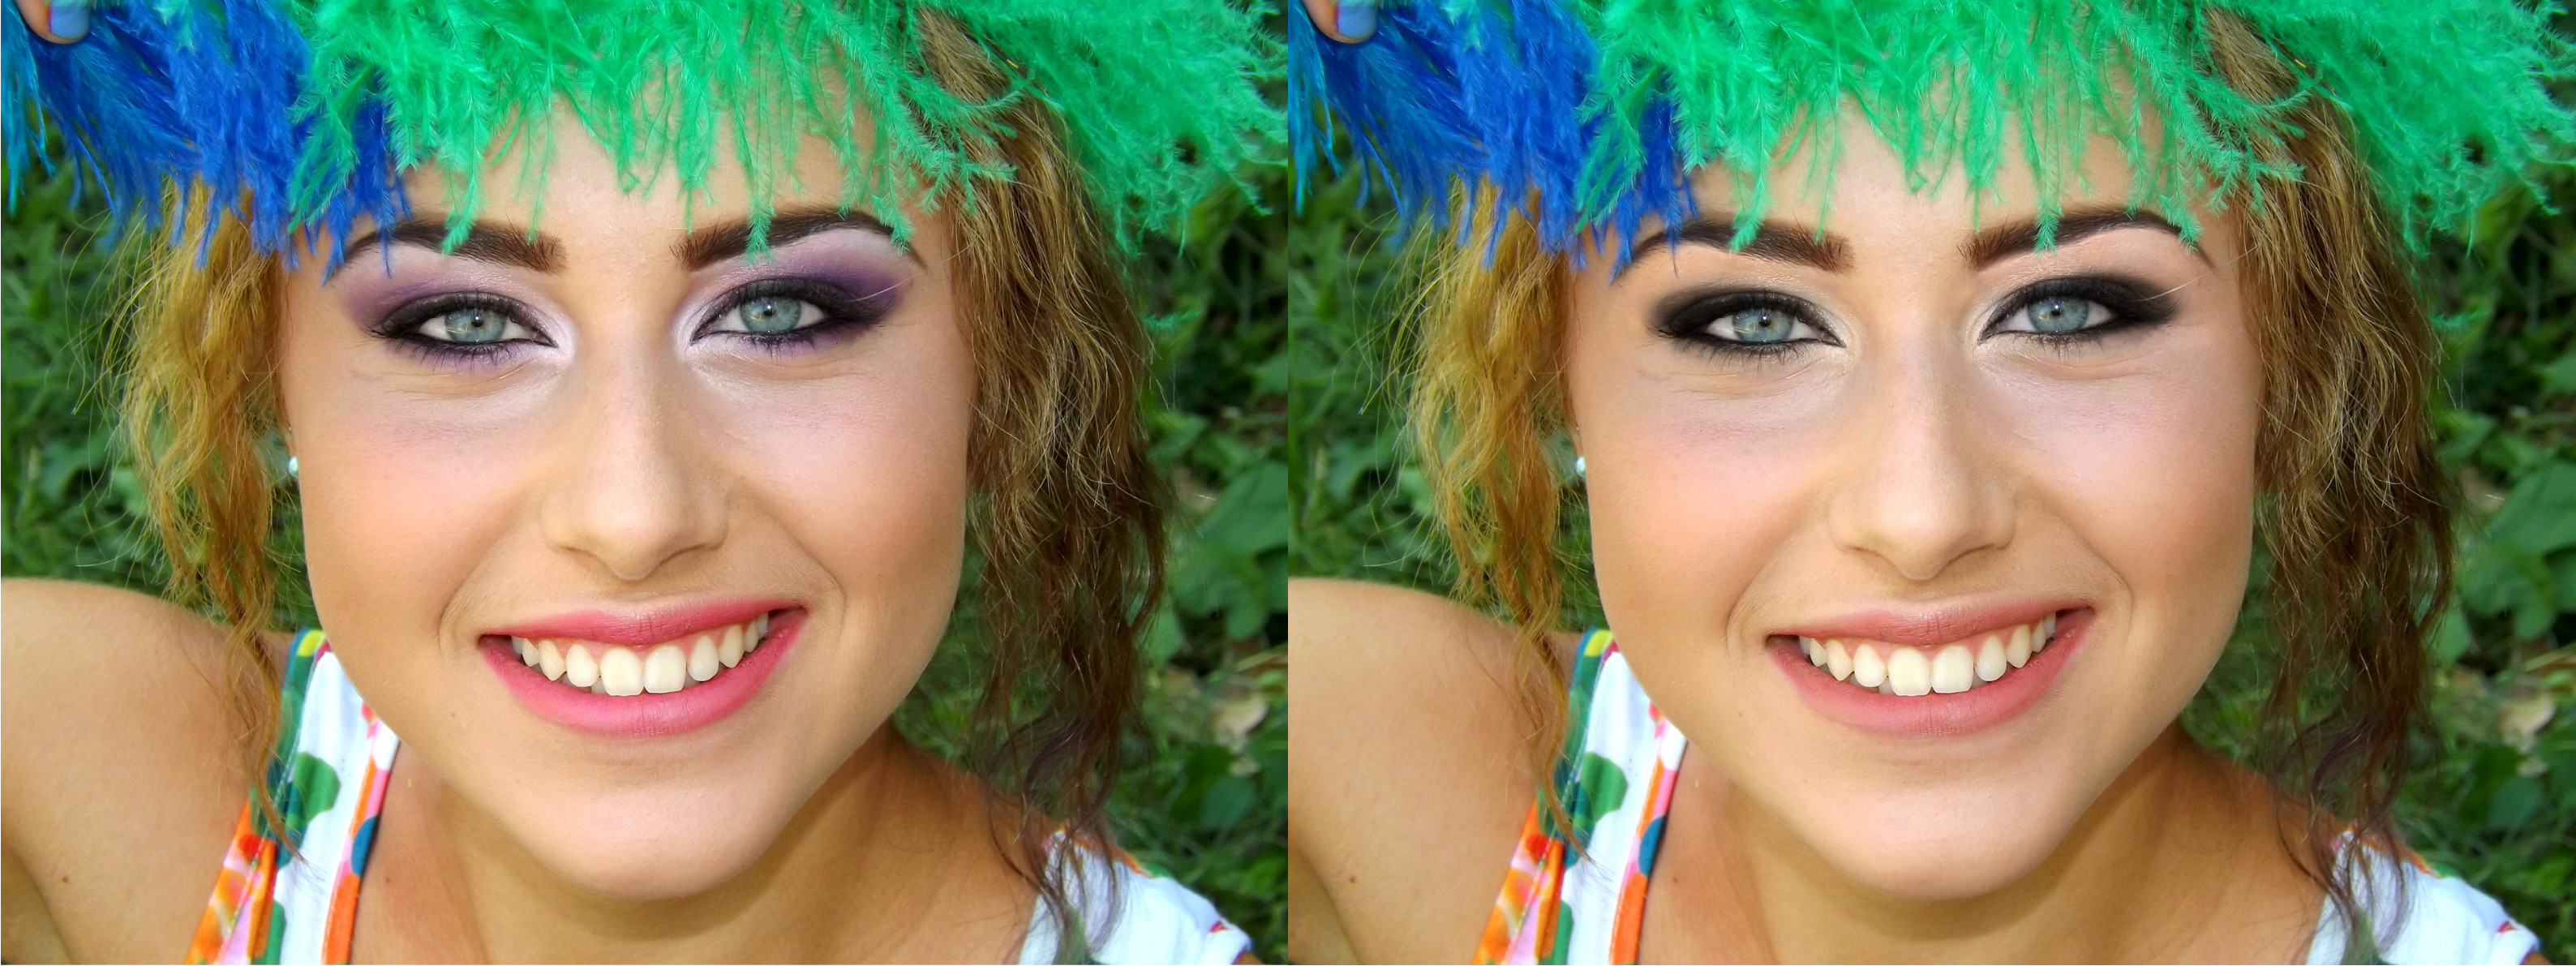
Whether it be part of retouching a portrait, or just for fun, removing and modifying makeup on your computer is a nice skill to have.
There are lots of ways to do this, but after looking at different techniques from others, here’s what I’ve found works for me.
Image that I used:https://pixabay.com/en/girl-eye-blue-smile-gene-881894/
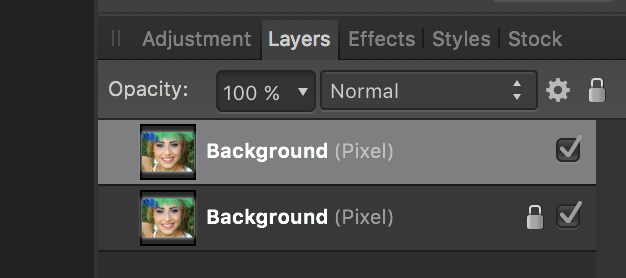
First, I duplicated the background layer.
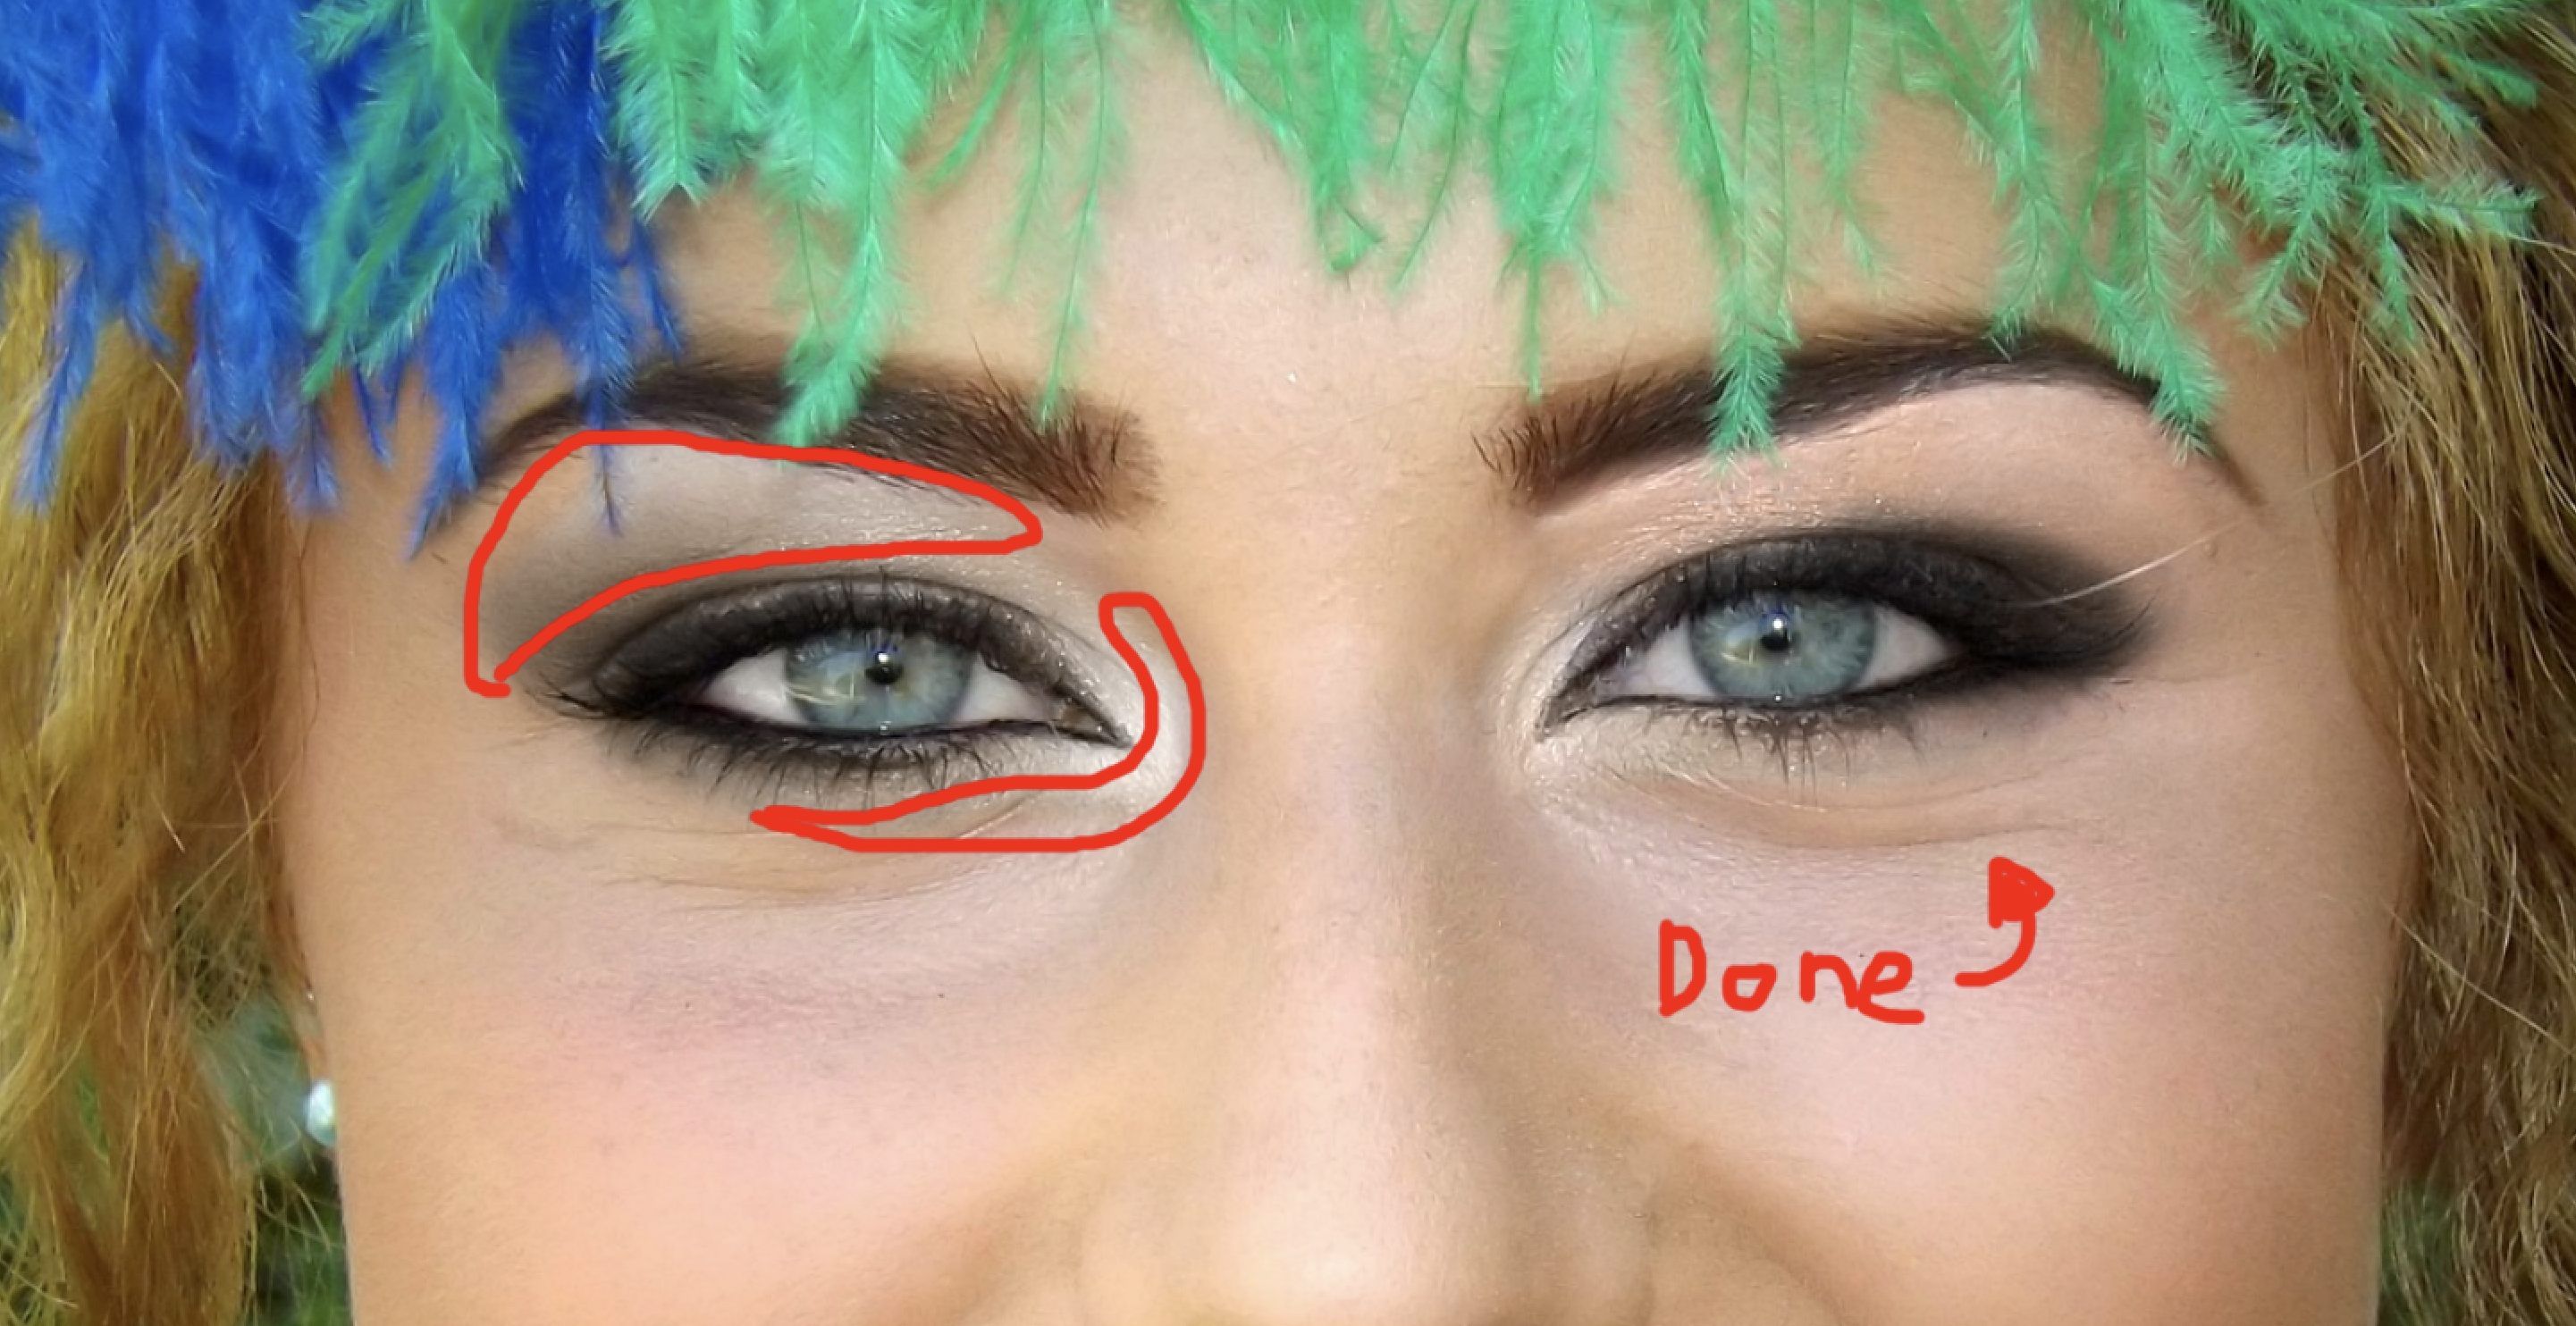
I started with the eye makeup. I used the brush tool, softened the edges and change the blending mode of the brush to either “hue” or “color”. I picked “hue”. It looked better for this photo.
I then sampled her skin tone as my paint color and painted over the eyeshadow to calm down the bright colors.

Next, I wanted to reduce the area of eye makeup. Frequency Separation is a wonderful technique for that. I copied this layer to start. I use Affinity Photo for my editing, and Frequency Separation is a built in feature.
On the low frequency layer, I used the clone stamp tool with 100% soft edges, and a low to medium opacity.
![]()
Sampled her skin, and started cloning where I wanted less or no makeup: her brow bone and inner corner.
Next up: her lip color.
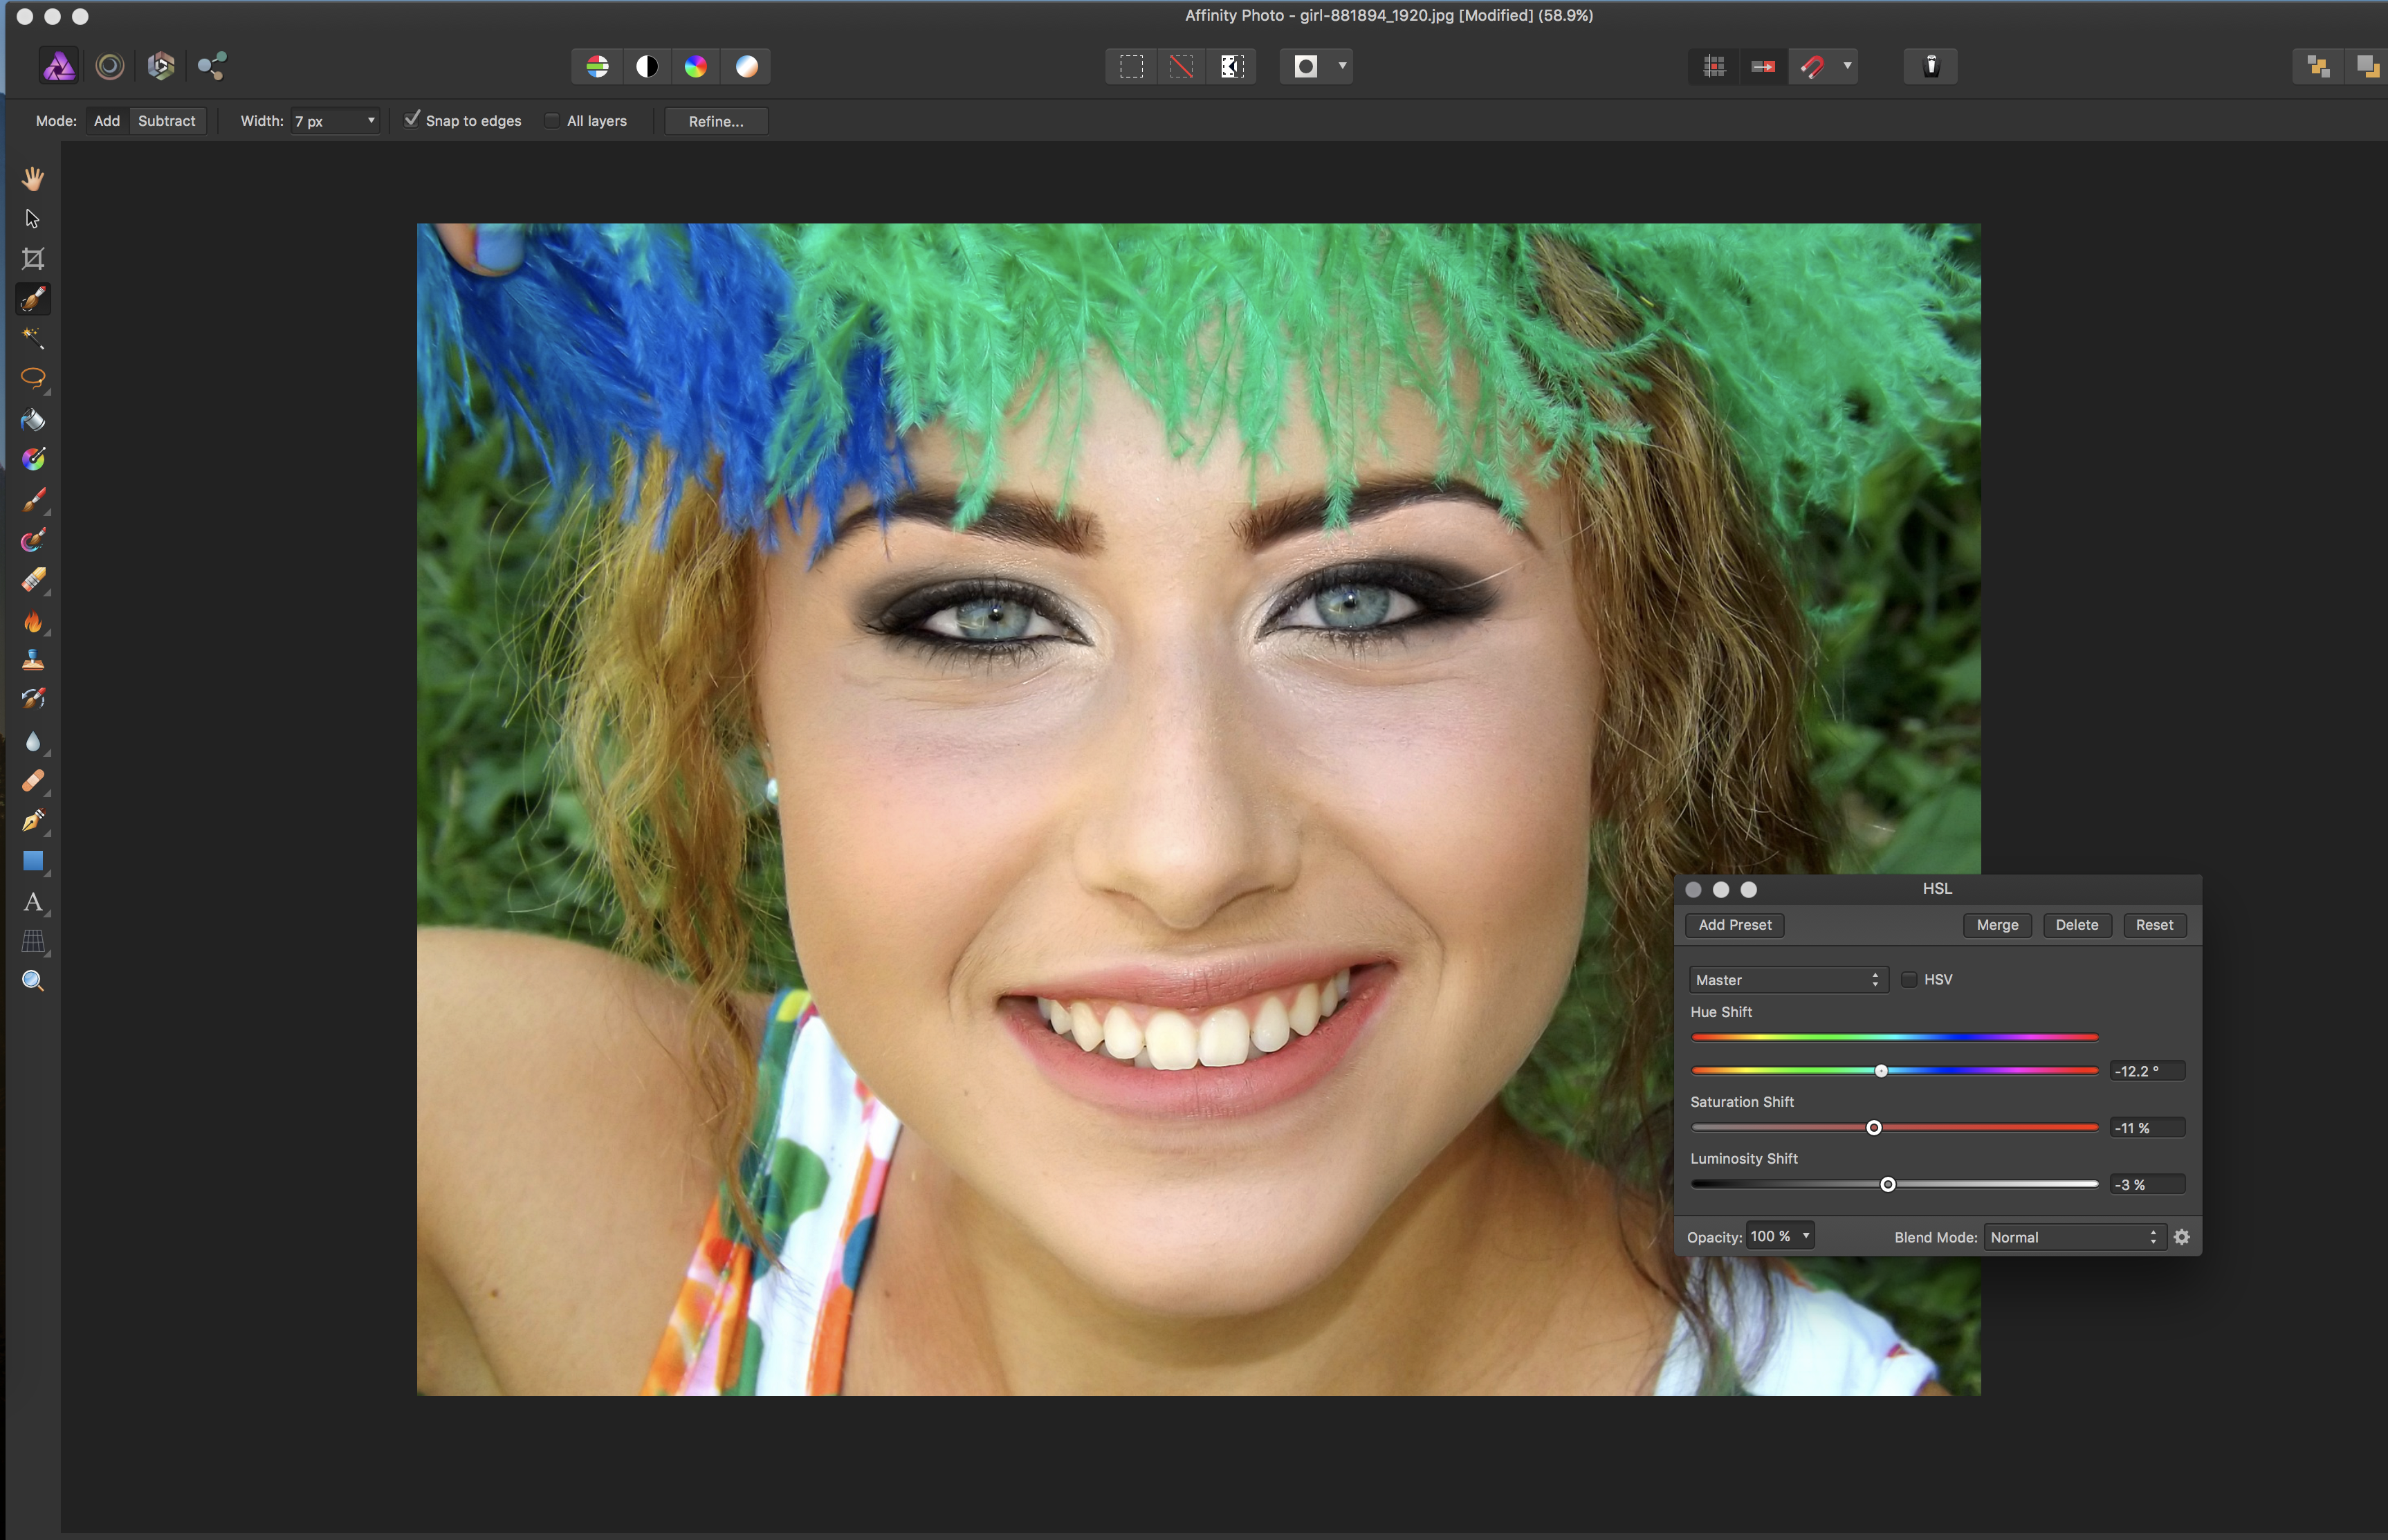
I selected her lips on the low frequency layer, and smoothed and feathered the selection with the “refine” feature.
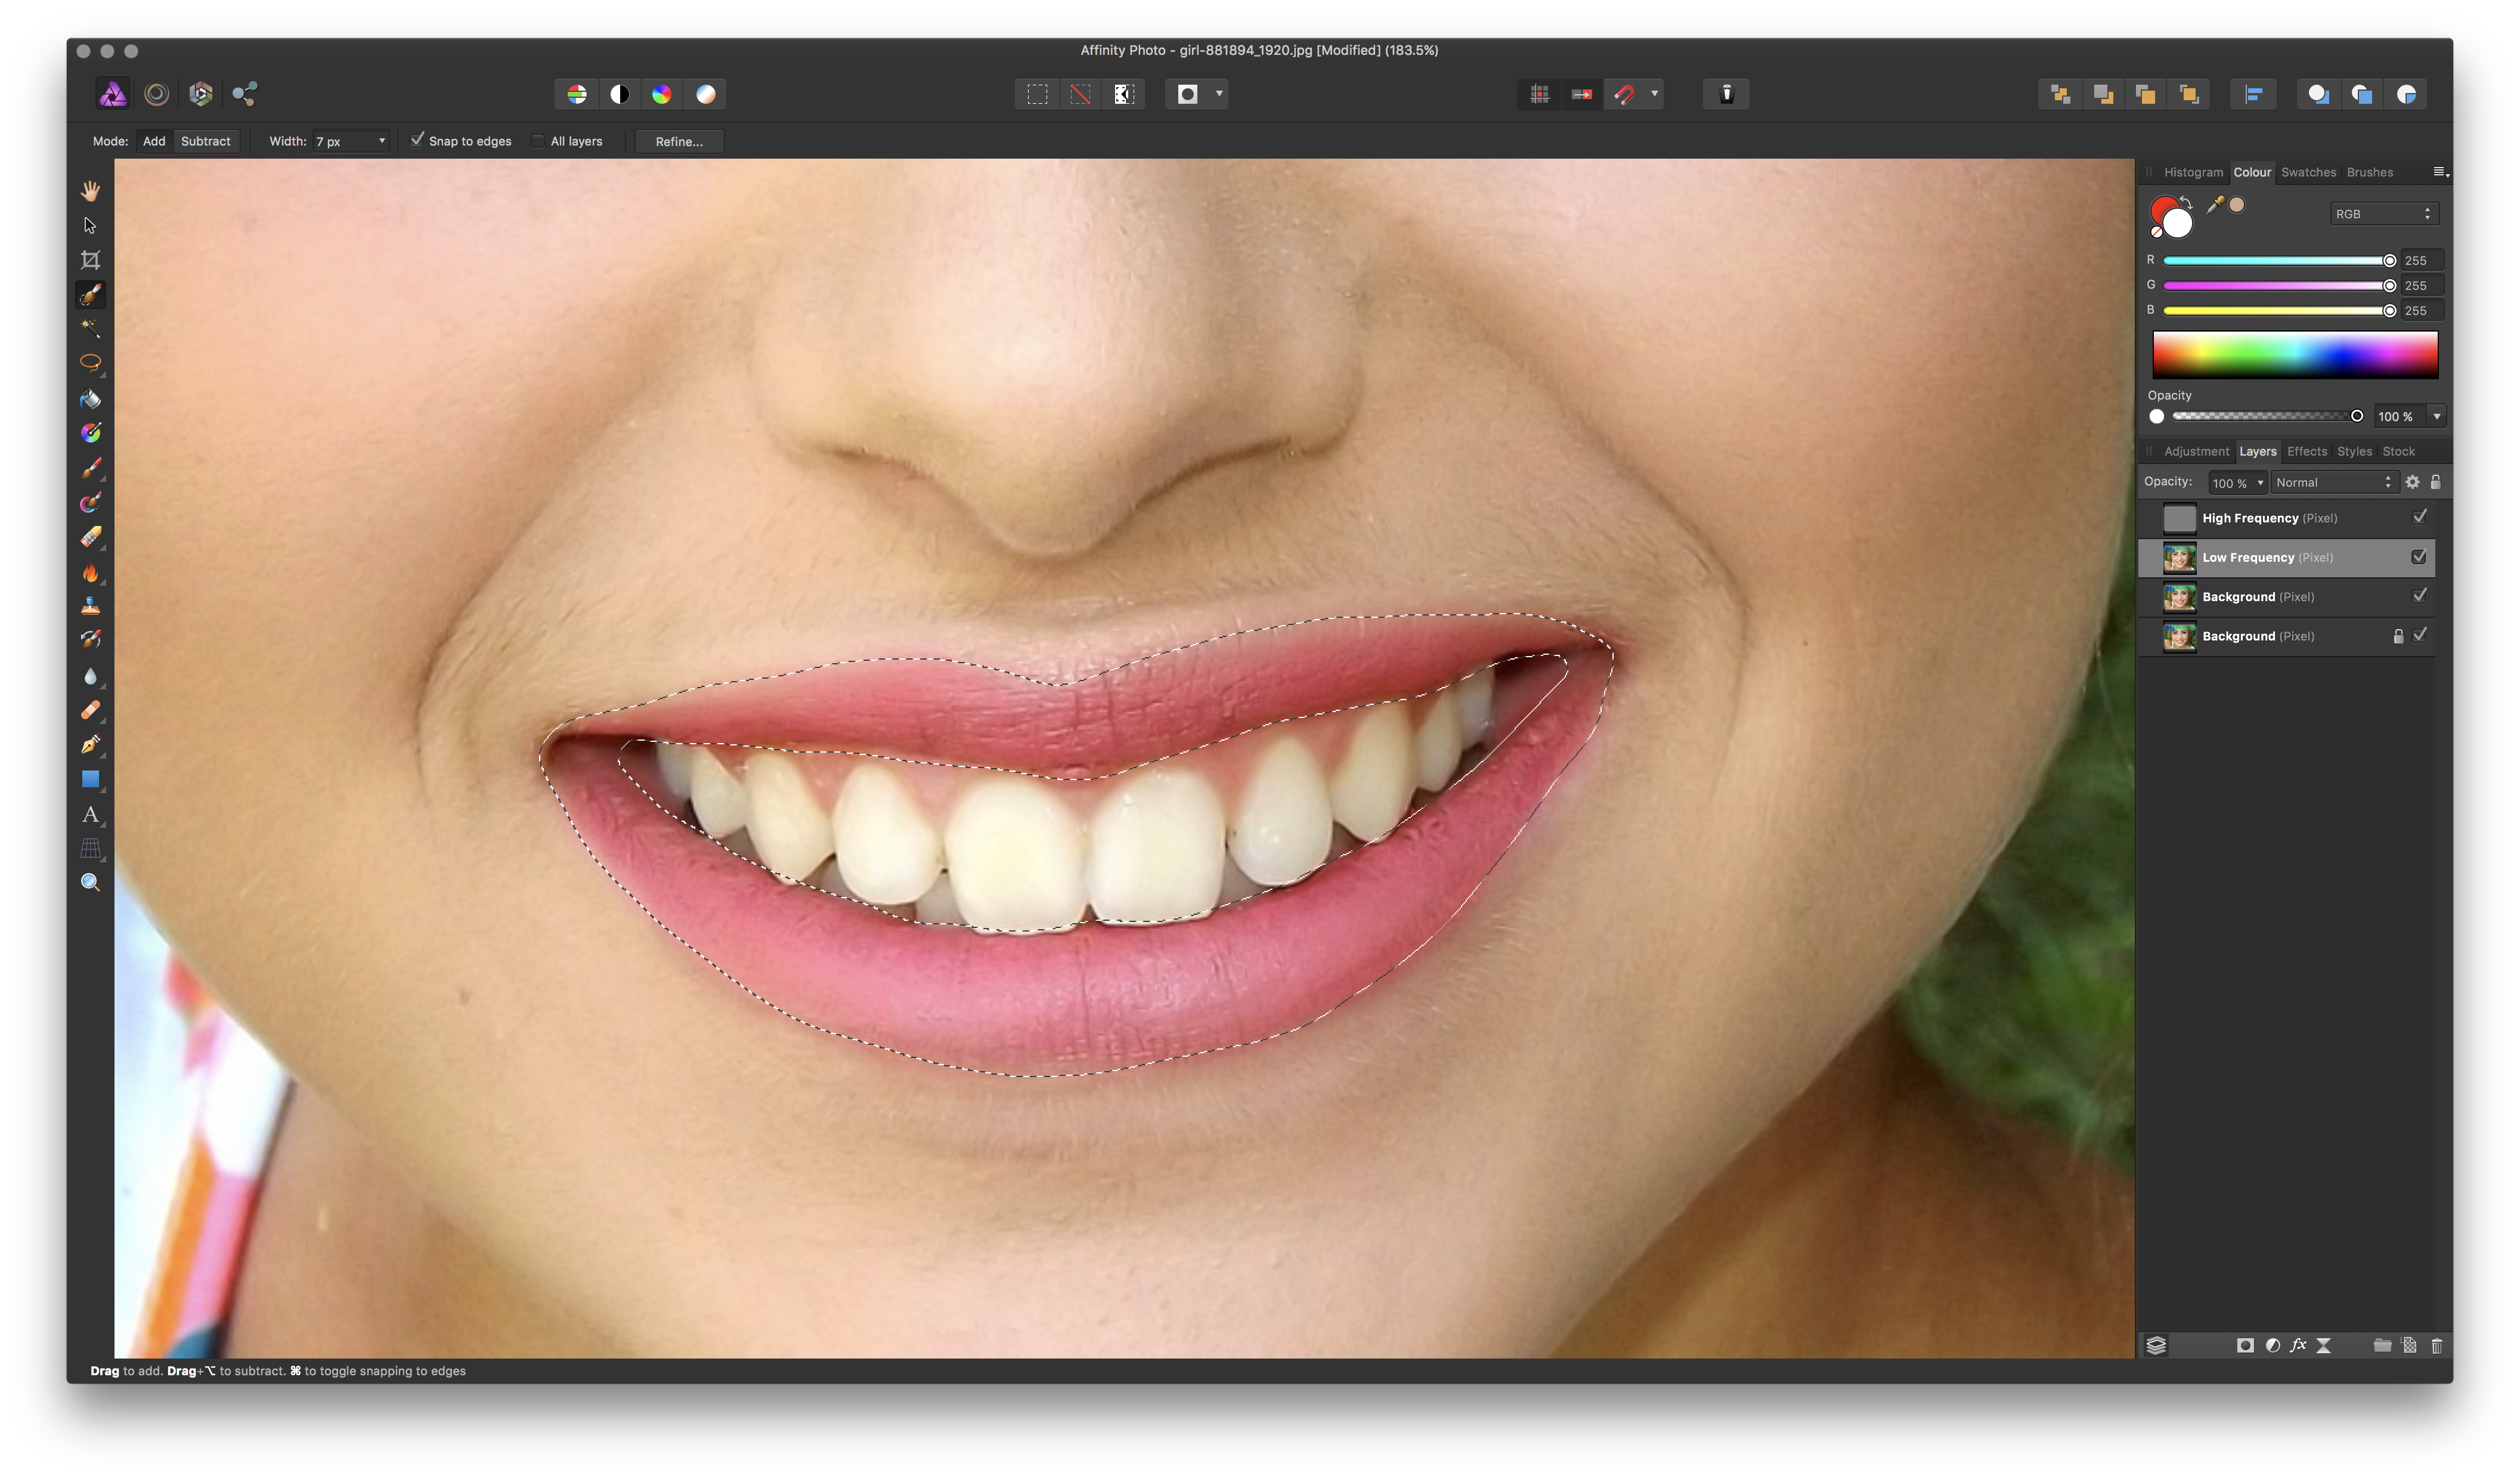
Using a HSL adjustment layer, I made her lip color more natural than the original pink. I set Hue at -12.2, Saturation at -15, and Luminosity at -3.
I noticed that her eye shadow application was uneven. (Darker on her left eye than her right). So, I burned where needed to even things out.
Before and After!